|
Our method of producing patterns for mass production today would be science fiction to a pattern maker only ten years ago. Conventional pattern making methods take a lot of time, money and very skilled tradesmen to make the quality patterns we require here at our foundry, but we now have a 3D printing machine that has reduced our pattern making time easily over 1400-3000%, cost down by 500-1500% and now even someone that knows nothing about pattern making or foundry methods can draw up a 3D model, send it to us, and with very minimal editing we can have a pattern made at a cost effective price for anyone, here is how it works:
Our 3D printer works just like a regular printer would work, the only difference is it has a motor that enables it to move vertically. It has two nozzles, one that prints support material and the other prints ABS structural material. It works by heating up a plastic ABS string to 300°F and is feed into the nozzles and is laid down in a specific path that has been generated by our printing software, First though, you have to have a CAD file:Front Gear Cover for a 6-71 Supercharger
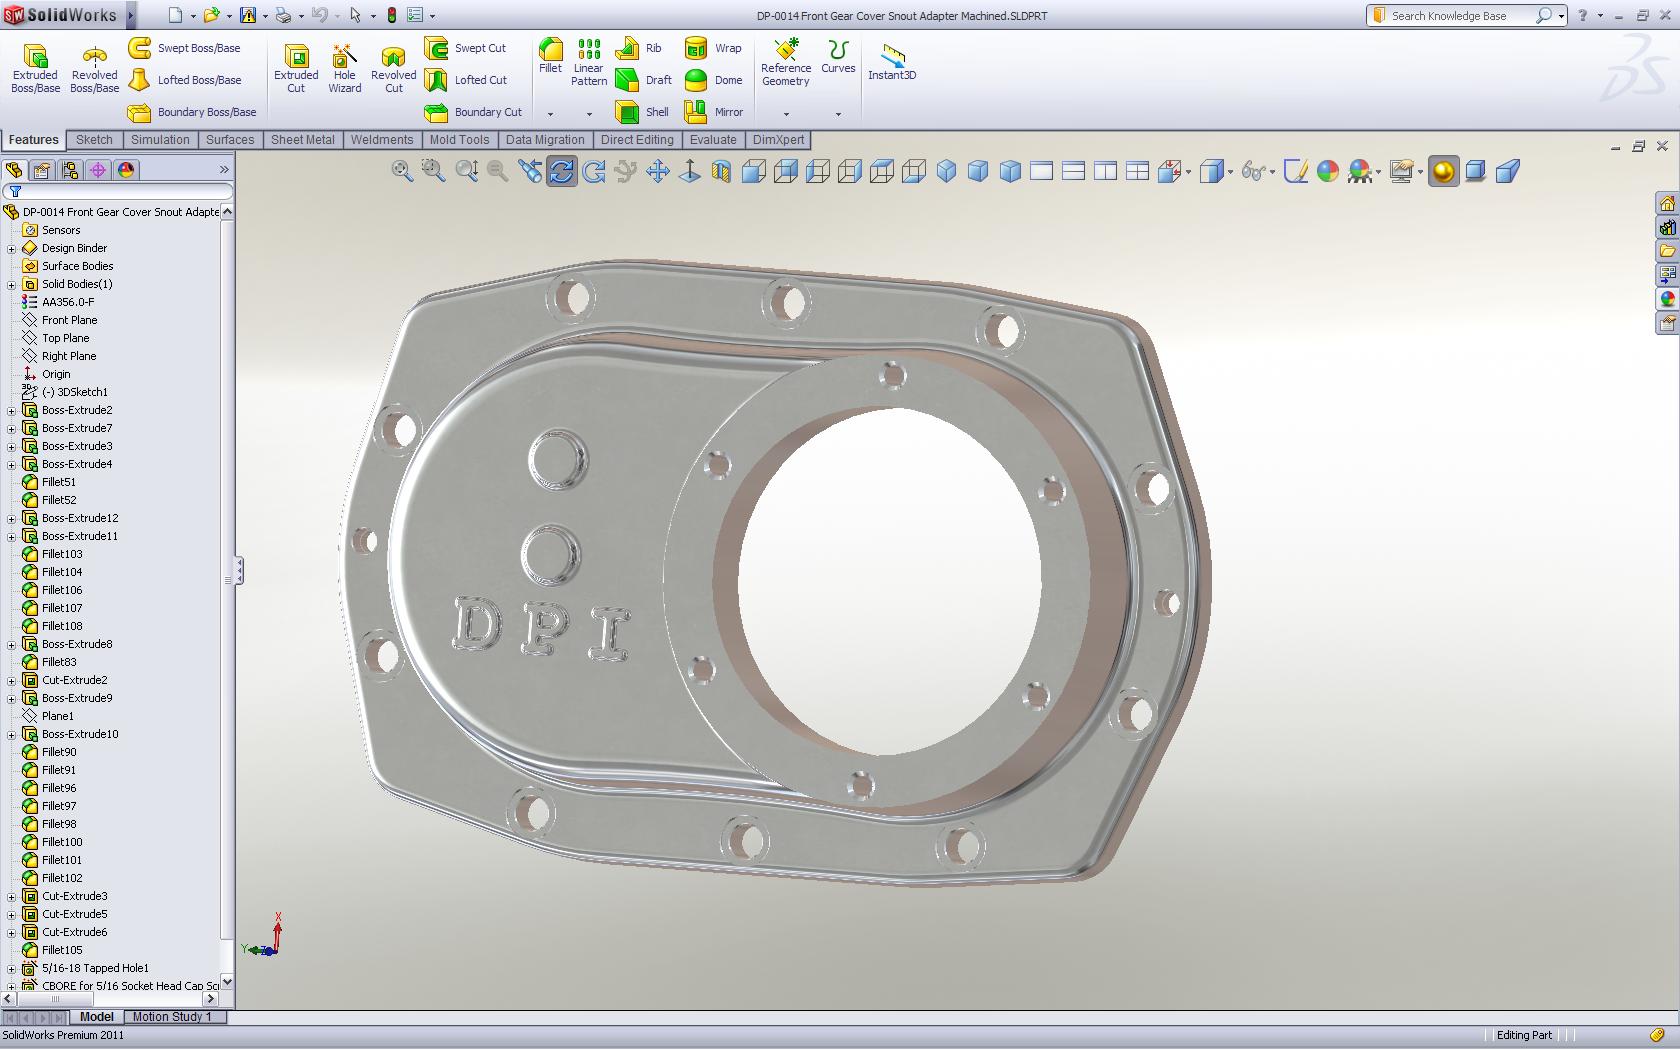
After we have a part drawn up on CAD we then covert it to an STL file and send it to our printer software to locate it and write the tool path for the printing process:
STL file imported to printing software
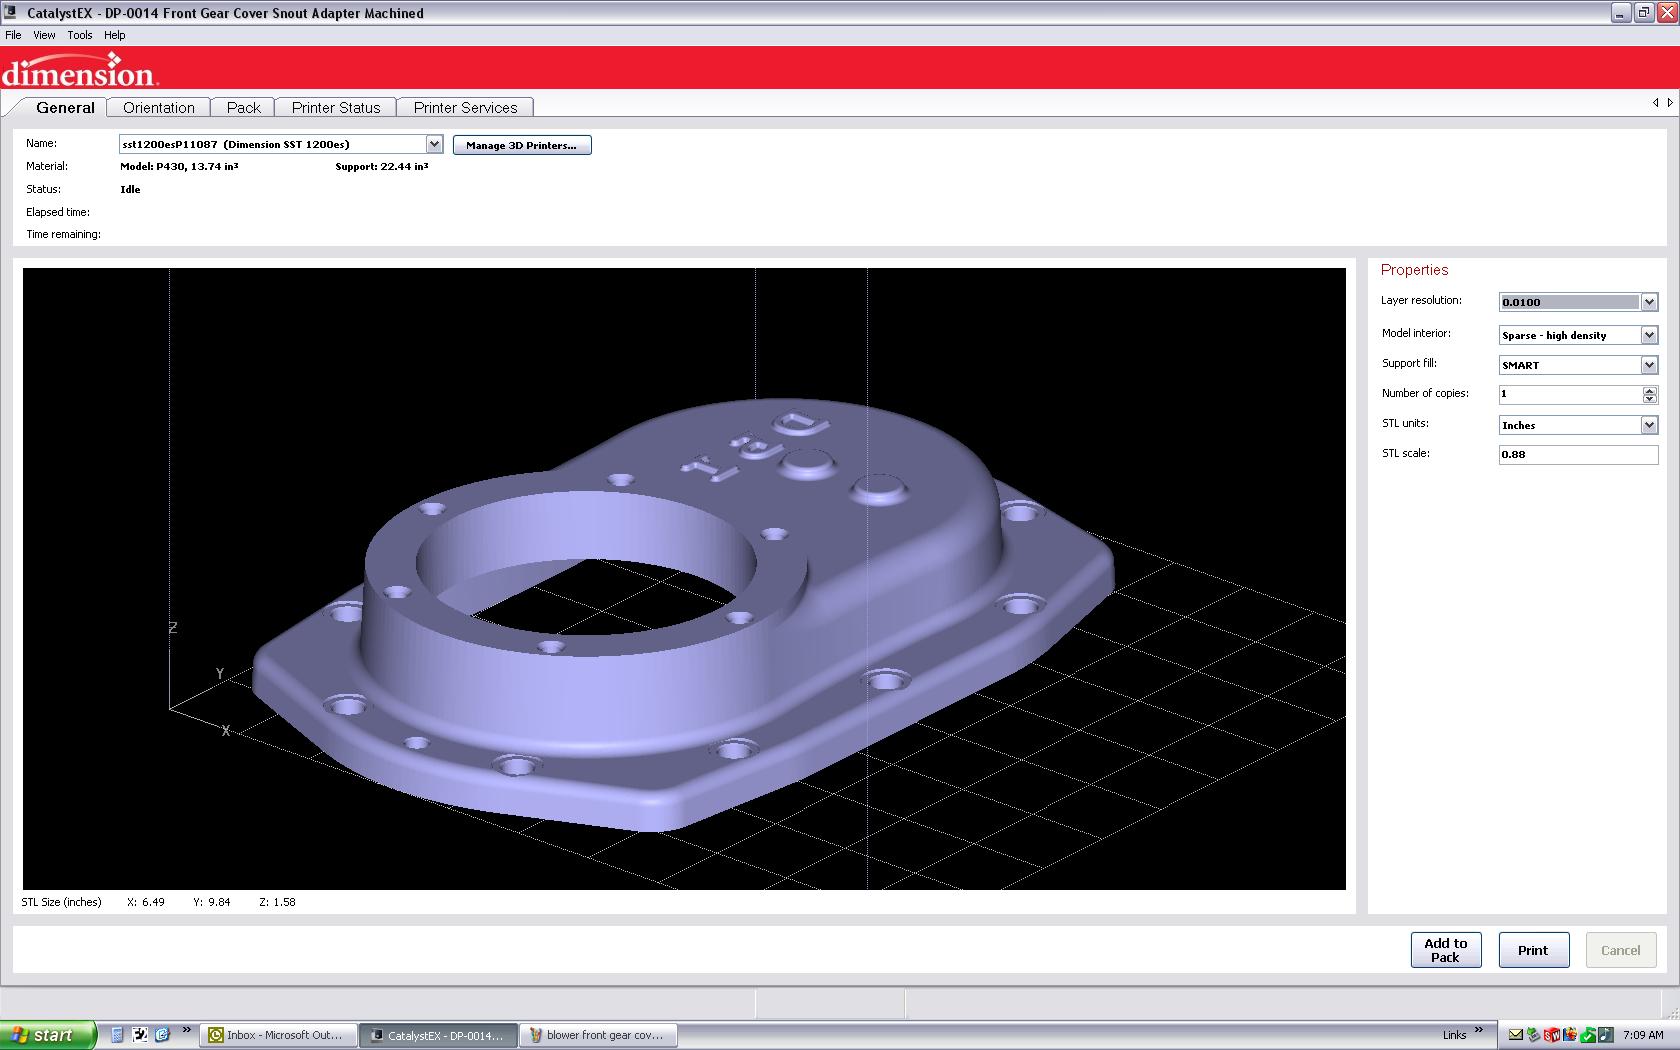
Printing software writing tool path
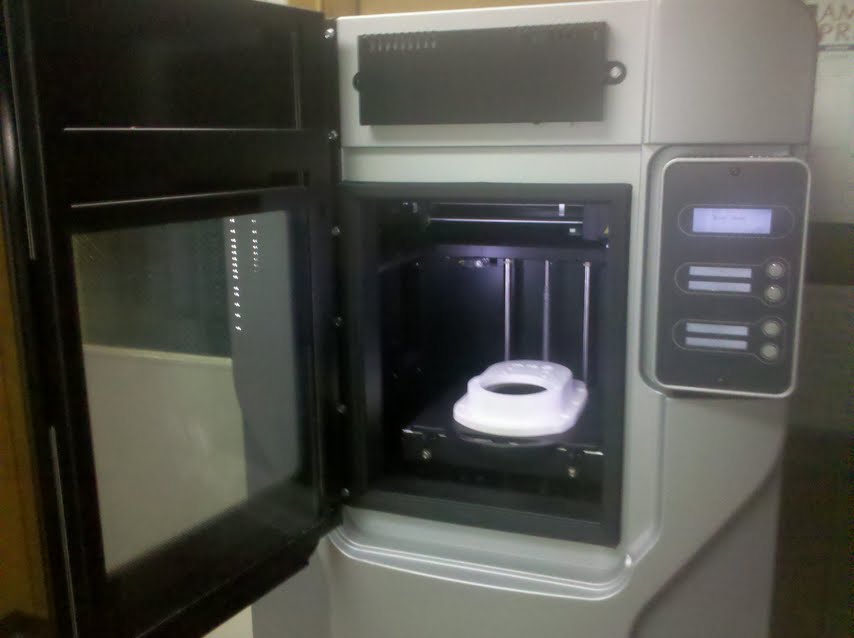
After everything is set up we send the tool path to the printer and it begins to power up, heating up the structural and support material to 300°F, buffering the data and preparing to print:
Rapid Prototyping 3D printer
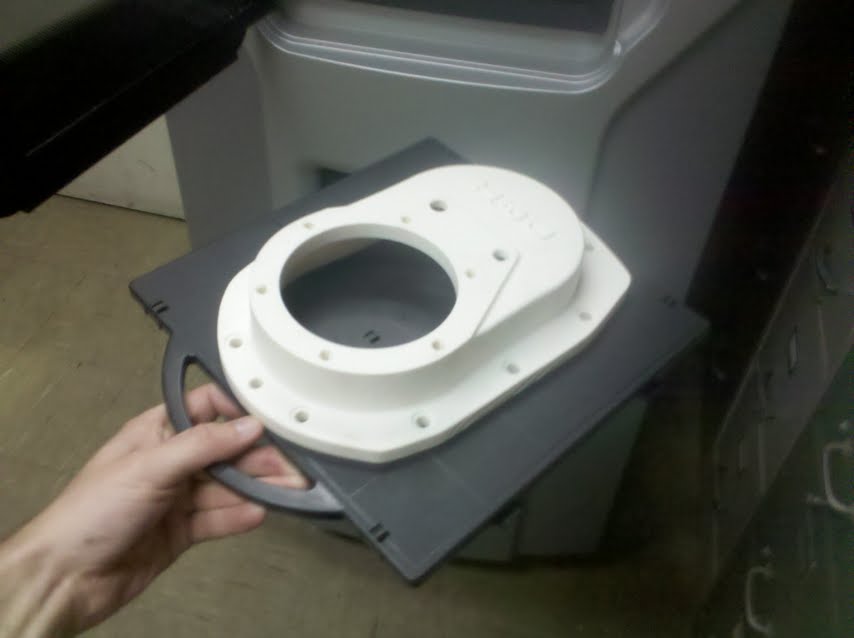
The printing process can take anywhere from 45 minutes to 40+ hours depending on the complexity of the part and can print at a tolerance of ±0.008. After the part is done printing the printer shuts down and we allow the part 15-20 minutes to cool, then it is placed in a cleansing bath the dissolves any support material away leaving just the structural plastic:
1:1 scale Prototype model
After the part has been printed we wash it in a specific solution of Sodium Hydroxide and water, this will dissolve all the support material and leave us with the printed part we want. Then we sand down any rough spots and fill in any gaps that might have been present. From here we can either do one of three things with our plastic model.
If it has been printed out as a 1:1 scale machined model we will use it in an assemble to check for any clearance and fitting issues before the part is put into production, this is always the first type of model we print out in our prototyping development.
The second type of of model we print is slightly bigger than the prototype model to compensate for when we cast the part and the metal begins to shrink, and is designed slightly different than a prototype model to compensate for molding. We use this model to either mount on a pattern and begin mass production on our green sand or air-set molding lines, or we can do a 1-on air-set mold to get a single casting to present to our customer.
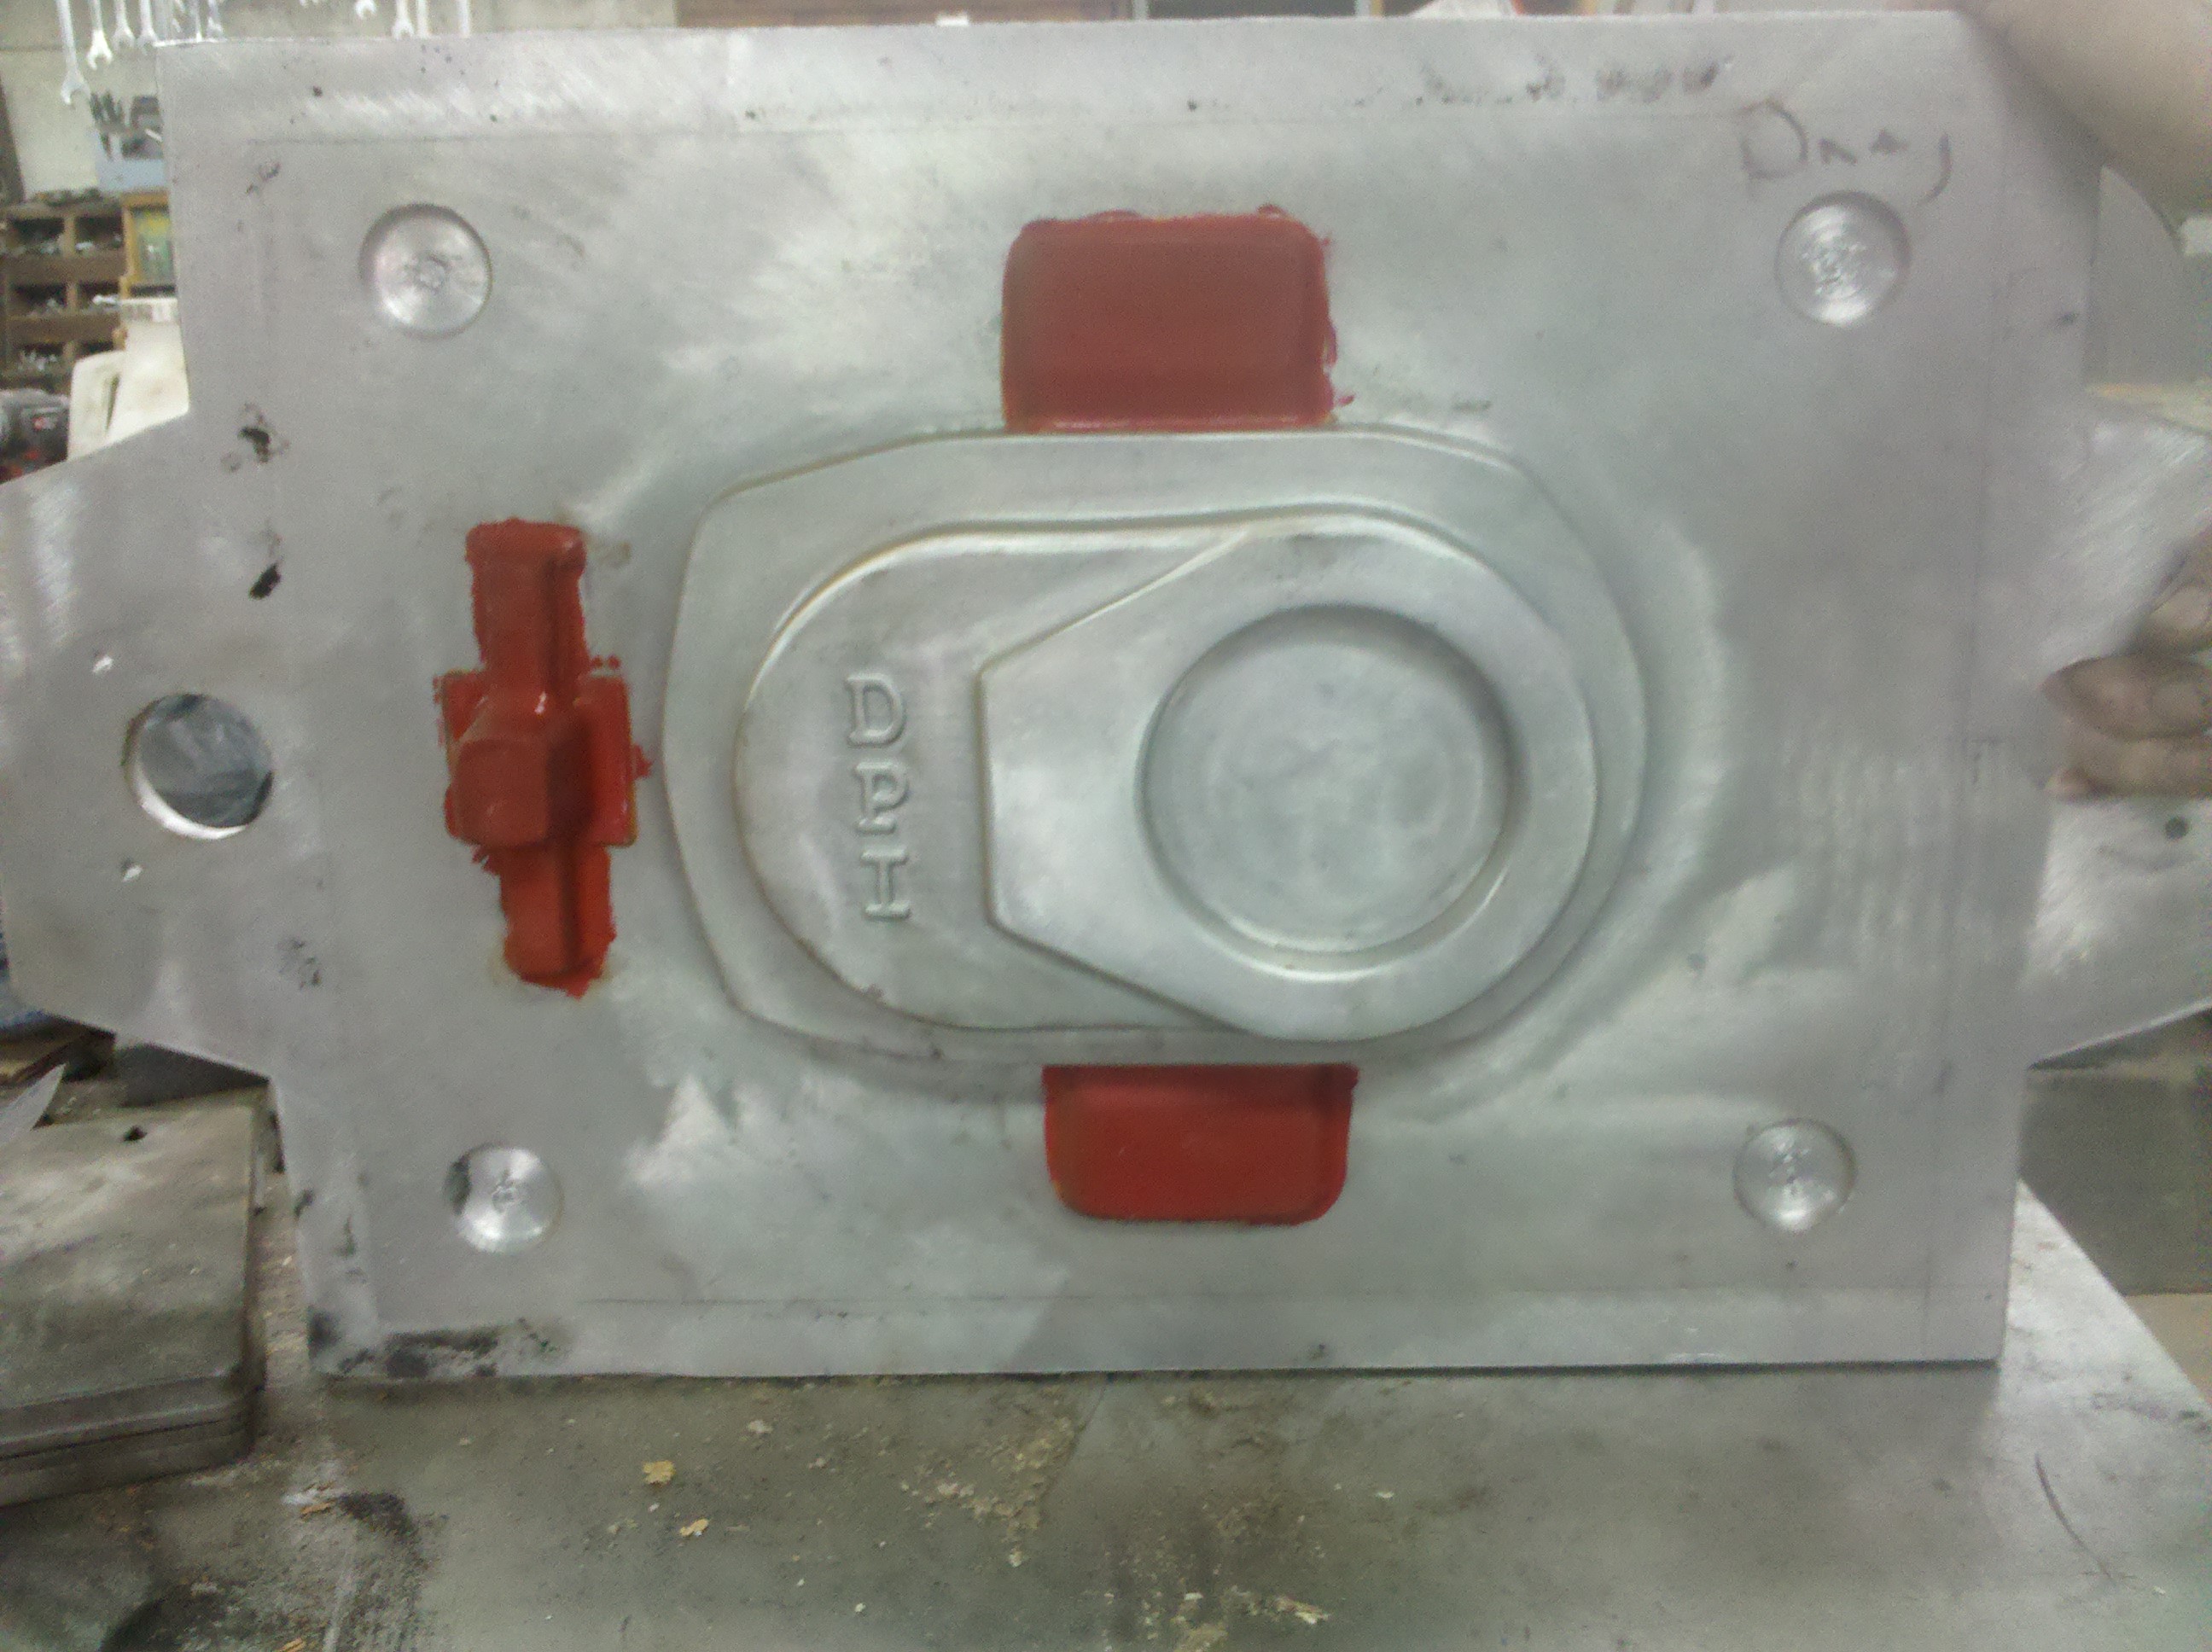
The third is very similar to the second but is actually printed to be slightly bigger than the second type of model to incorporate double shrink. This is because we send it out to a match plate company that cast the part into an aluminum pattern, so we must calculate shrink for the aluminum pattern and also shrink for when we use the pattern to cast parts off of it.
Match plate pattern for green sand molding line
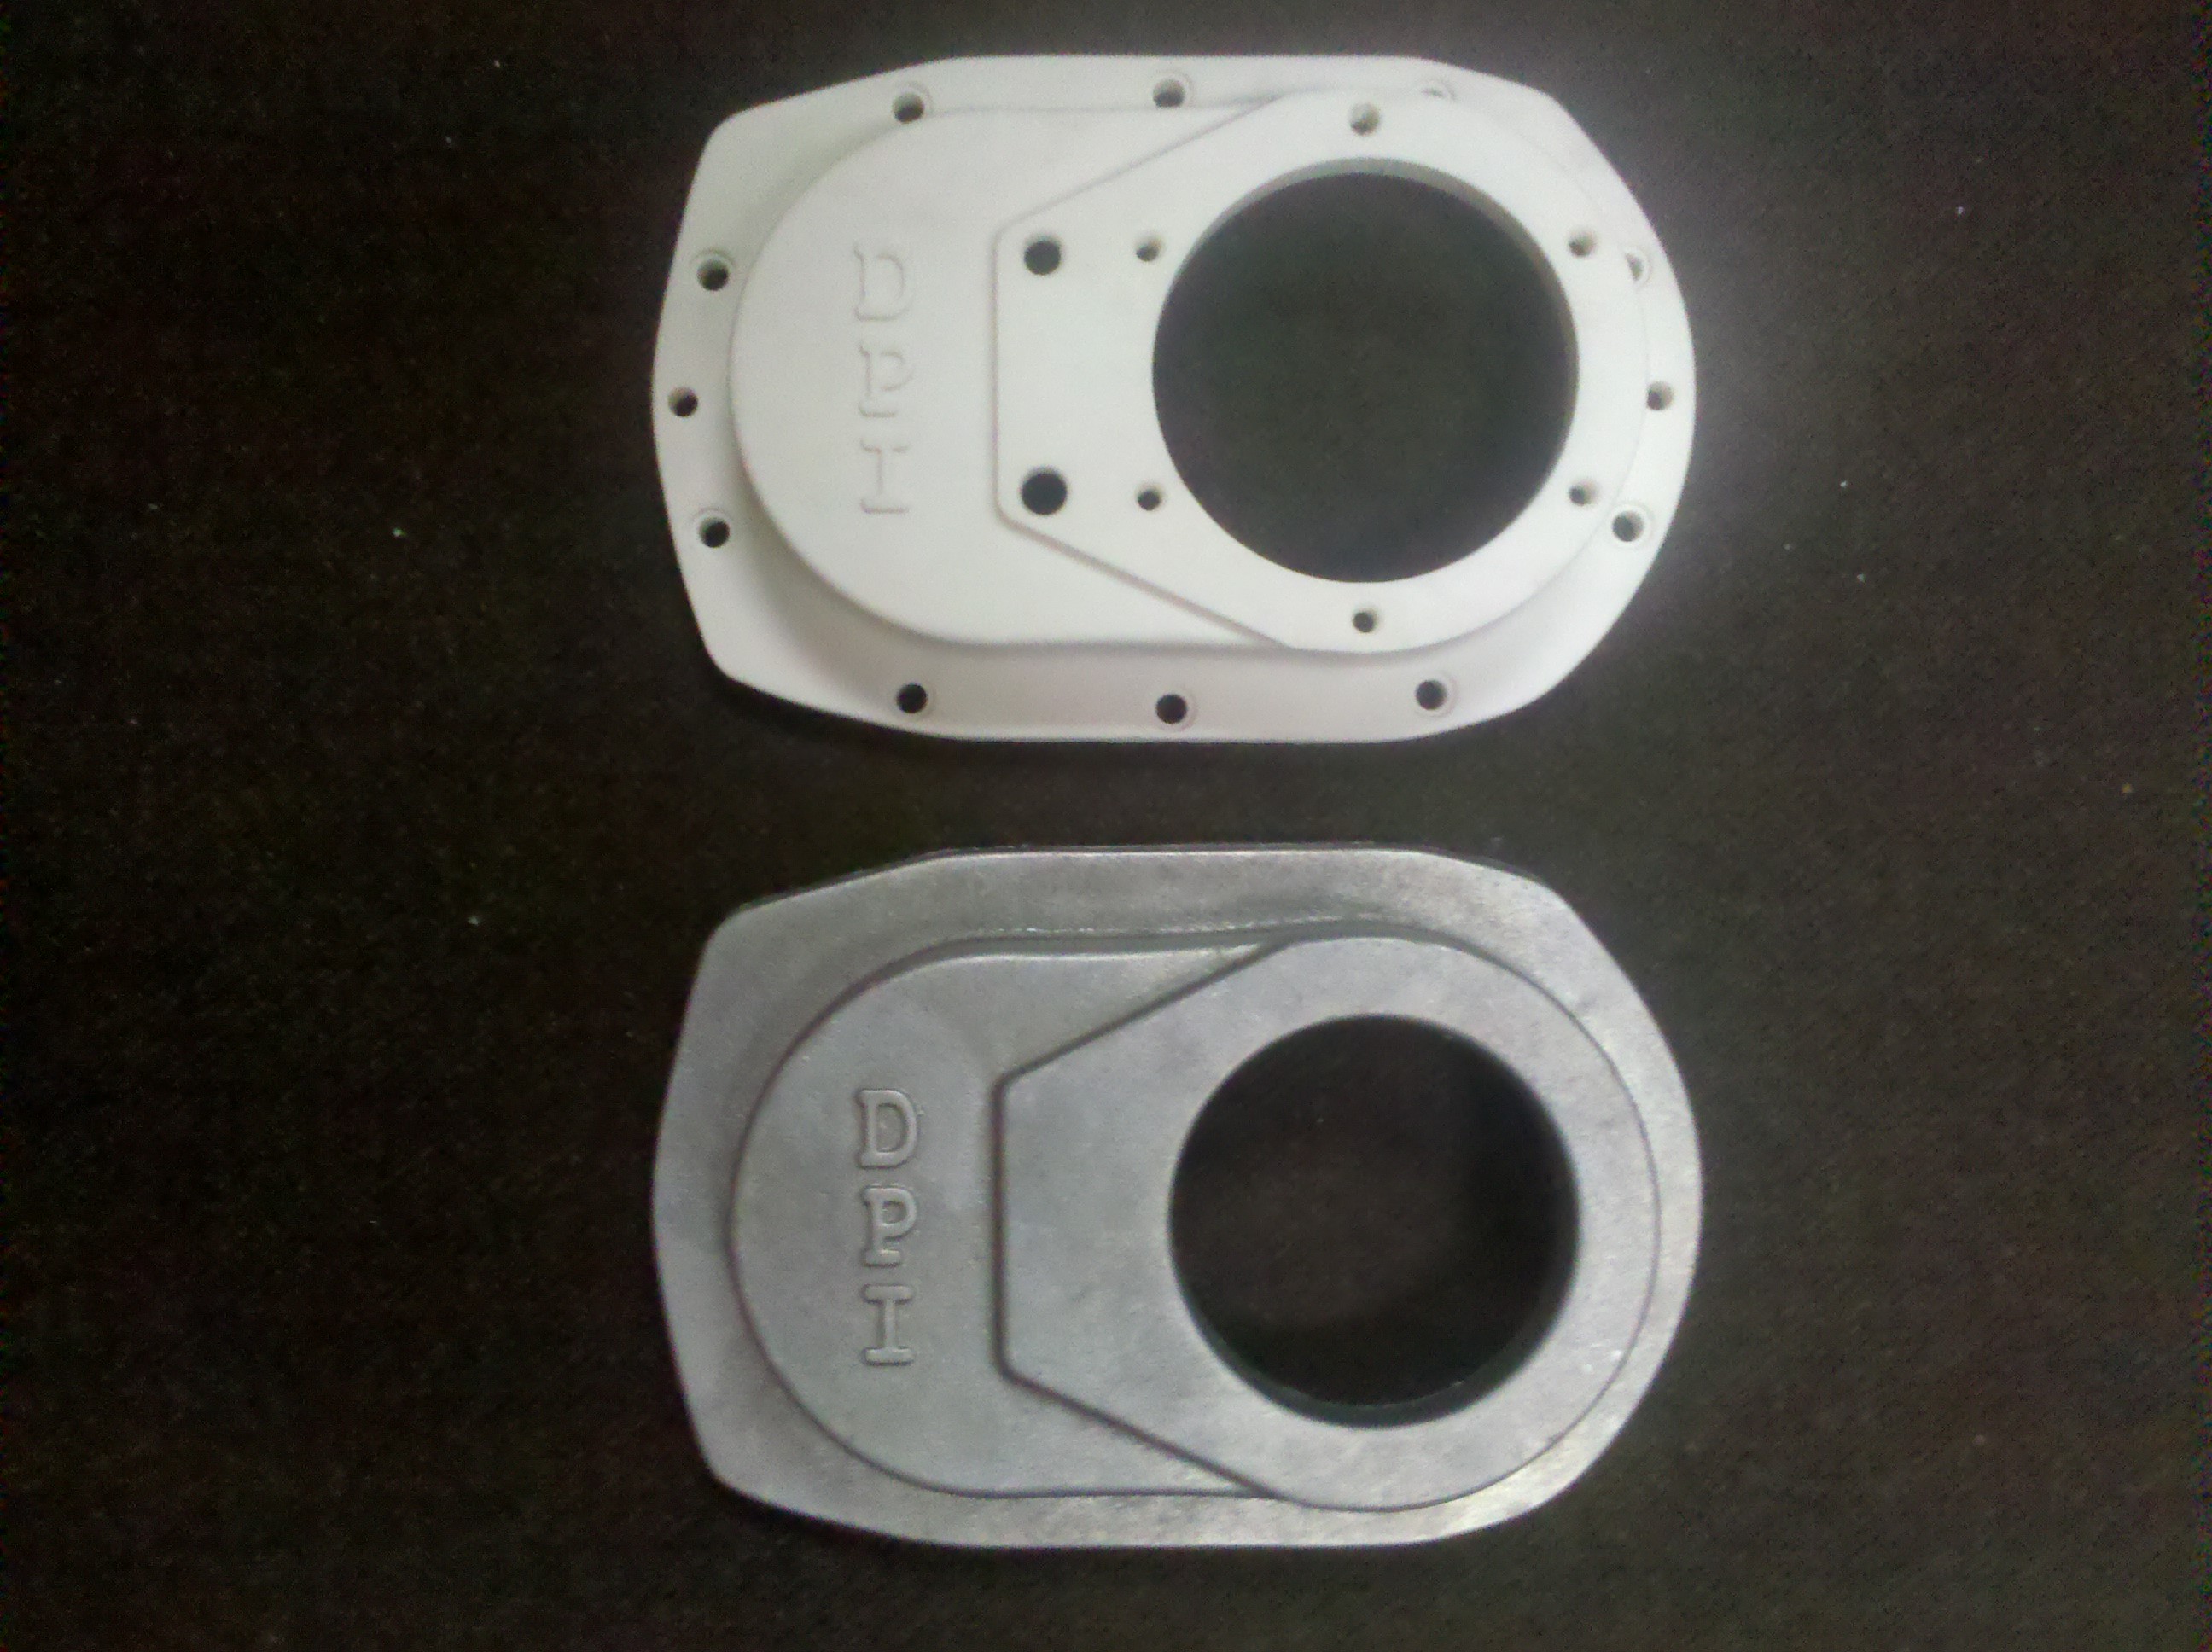
Then we take the pattern and set it up on one of our green sand molding stations, our molders create the mold, position it on a pallet that rolls across our pouring deck and is then cast, knocked out, ban-sawed, ground and cleaned and we are left with this:
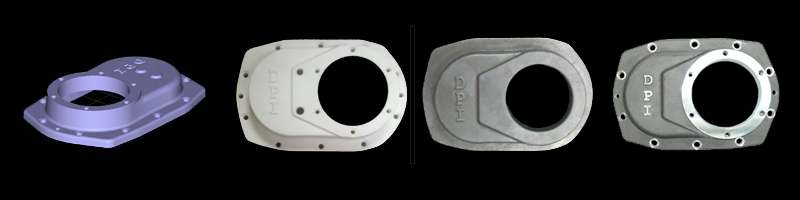
Top:prototype model Bottom: Aluminum Casting
From here we take our casting into our machine shop and create fixtures and tool path for our CNC machines to machine the part and you are left with a 100% American made part ready to ship to anywhere in the world.
671 Supercharger Front Gear Cover Finished
It can only take use 1-7 days starting with a model to having a castings in our hands, this is compared to conventional pattern making methods that could take up to 2-8 weeks to accomplish the same task, and literally at a fraction of the cost. The machining phase can take anywhere from 1-6 weeks to have a part 100% finished.
Thank You, Garen Phillips
|